A finished video is easier to reach when each stage leaves the next one something clear to work with. The usual video production process has three phases: pre-production, production, and post-production. You decide what the piece must say, create the footage, then shape the takes into a sequence you can share. This guide walks through each stage and shows how Kling 4.0 can help you generate planned shots from text and references, without replacing the decisions only you can make.
Pre-Production: Plan Your Video Production Process
Pre-production gives the project a direction before anyone films or generates a frame. Settle the creative and practical choices now, so production can spend its time bringing the plan to life.
Define the goal, audience, and deliverable
Decide who the video is for, the single message it should leave behind, and where it will appear. Agree on length, aspect ratio, and the format of the finished piece so every later choice points at the same result. A product introduction, a service explainer, and a company update all need different information on screen, even if they share a workplace setting.
Turn the message into a script and shot plan
Write the script first, then break it into a shot list or a simple storyboard. Give every shot a job: introduce a place, show a detail, carry an action, or connect two moments. Note the intended framing, camera move, and what must stay recognizable from shot to shot. A short plan is enough if it tells production what to make and what to keep consistent.
Prepare references and agree on review points
Collect stills, clips, and notes for characters, products, locations, and style. For a live shoot, coordinate people, equipment, places, and the schedule. For an AI-assisted production, choose clear visual references that show the details you want to preserve, and write down which reference guides appearance, movement, or setting. Confirm who approves the script, the references, and the finished sequence before production begins.
Production: Create Footage More Efficiently
Production turns the plan into the footage the story needs. A traditional shoot still matters when you must capture real people, products, or events: you set lights and sound, direct performers, and film the planned coverage on location or in a studio.
Kling 4.0 offers another way to create or test planned shots in the Kling 4 workspace. It is a video model that accepts text, images, and Omni Reference. You can combine up to 15 reference items—images, videos, voice references, and subjects—in one generation, produce clips from 3 to 30 seconds, and use up to 10 keyframes to mark important beats. Output can go up to 4K, with 10-bit HDR available on 1080p and 4K. Use it to explore a scene, generate coverage, or fill a shot you could not film, then review every take against the shot list.
Turn text and references into moving scenes
When a shot begins as an idea, start with a text-to-video prompt. Name the subject, the action, the setting, and how the camera should see it. A wide view can establish a place; a close-up can make a product detail easy to read. When you already have a still you trust, use image-to-video to carry that look into motion. With Omni Reference, you can also combine stills, clips, and subject references in one request. Give each asset a role, such as holding a face, a costume, a product silhouette, or a camera path, then describe the scene they should build together.
Direct the action and camera movement
Movement should help the viewer notice what matters. A slow push-in can draw attention to a hand opening a package. A tracking shot can follow someone through a workspace and reveal the room as they move. Describe the subject’s action and the camera’s response together, and give the motion a physical order: reach, make contact, lift, and settle. These visible steps give the model a clearer task than a request to “make it cinematic.” Compare the result with the shot plan before you generate the next take.
| References image | References video | Generated video |
|---|---|---|
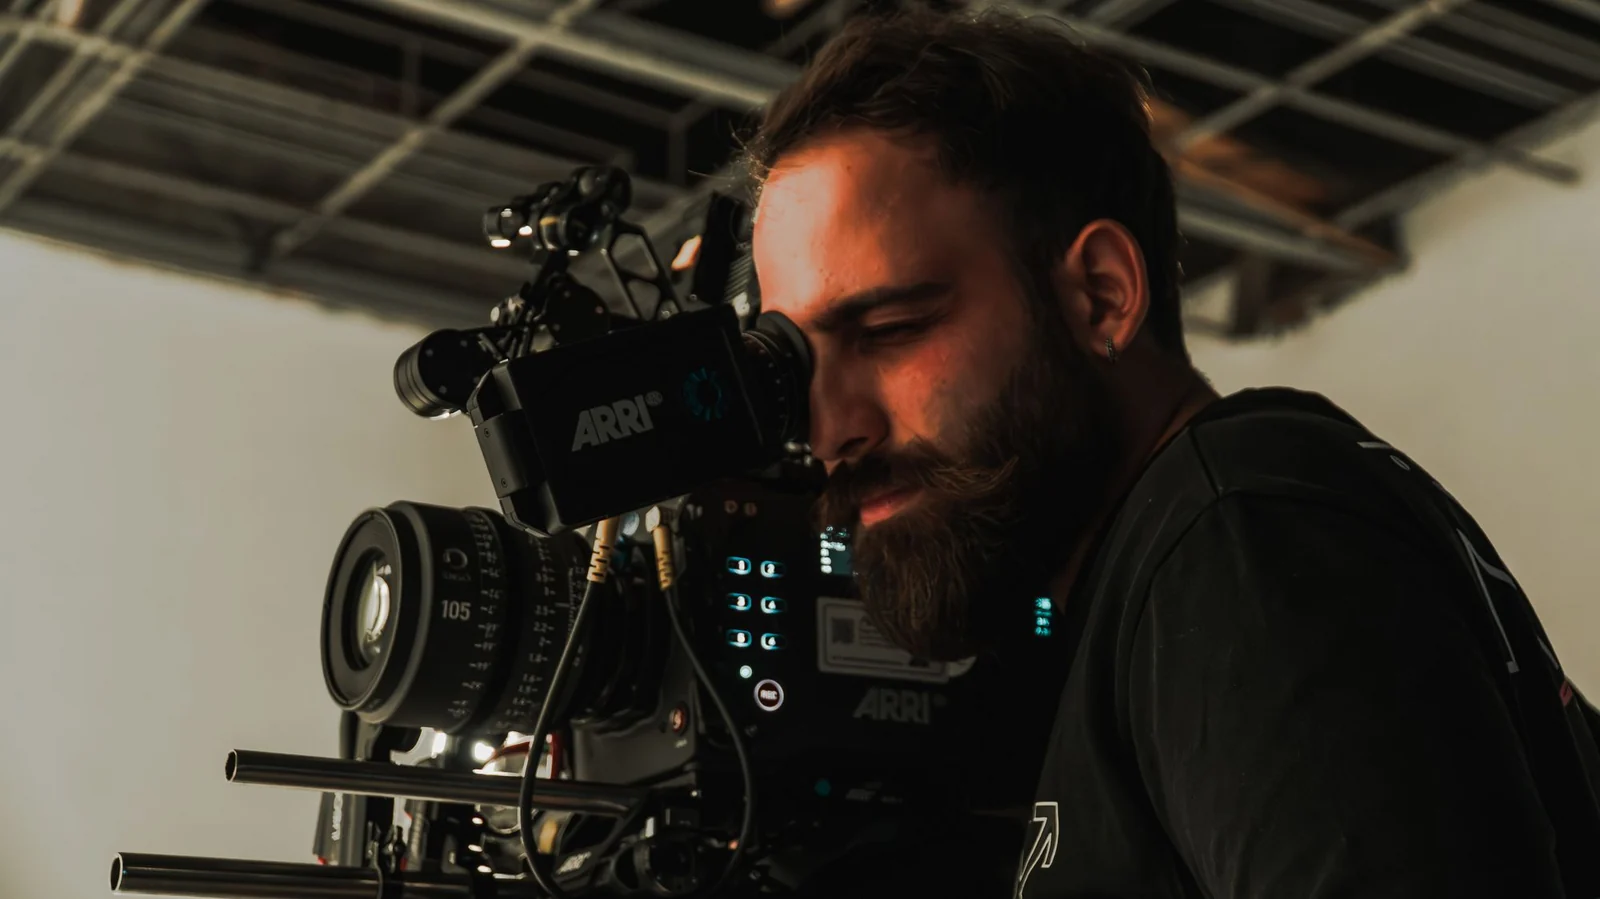 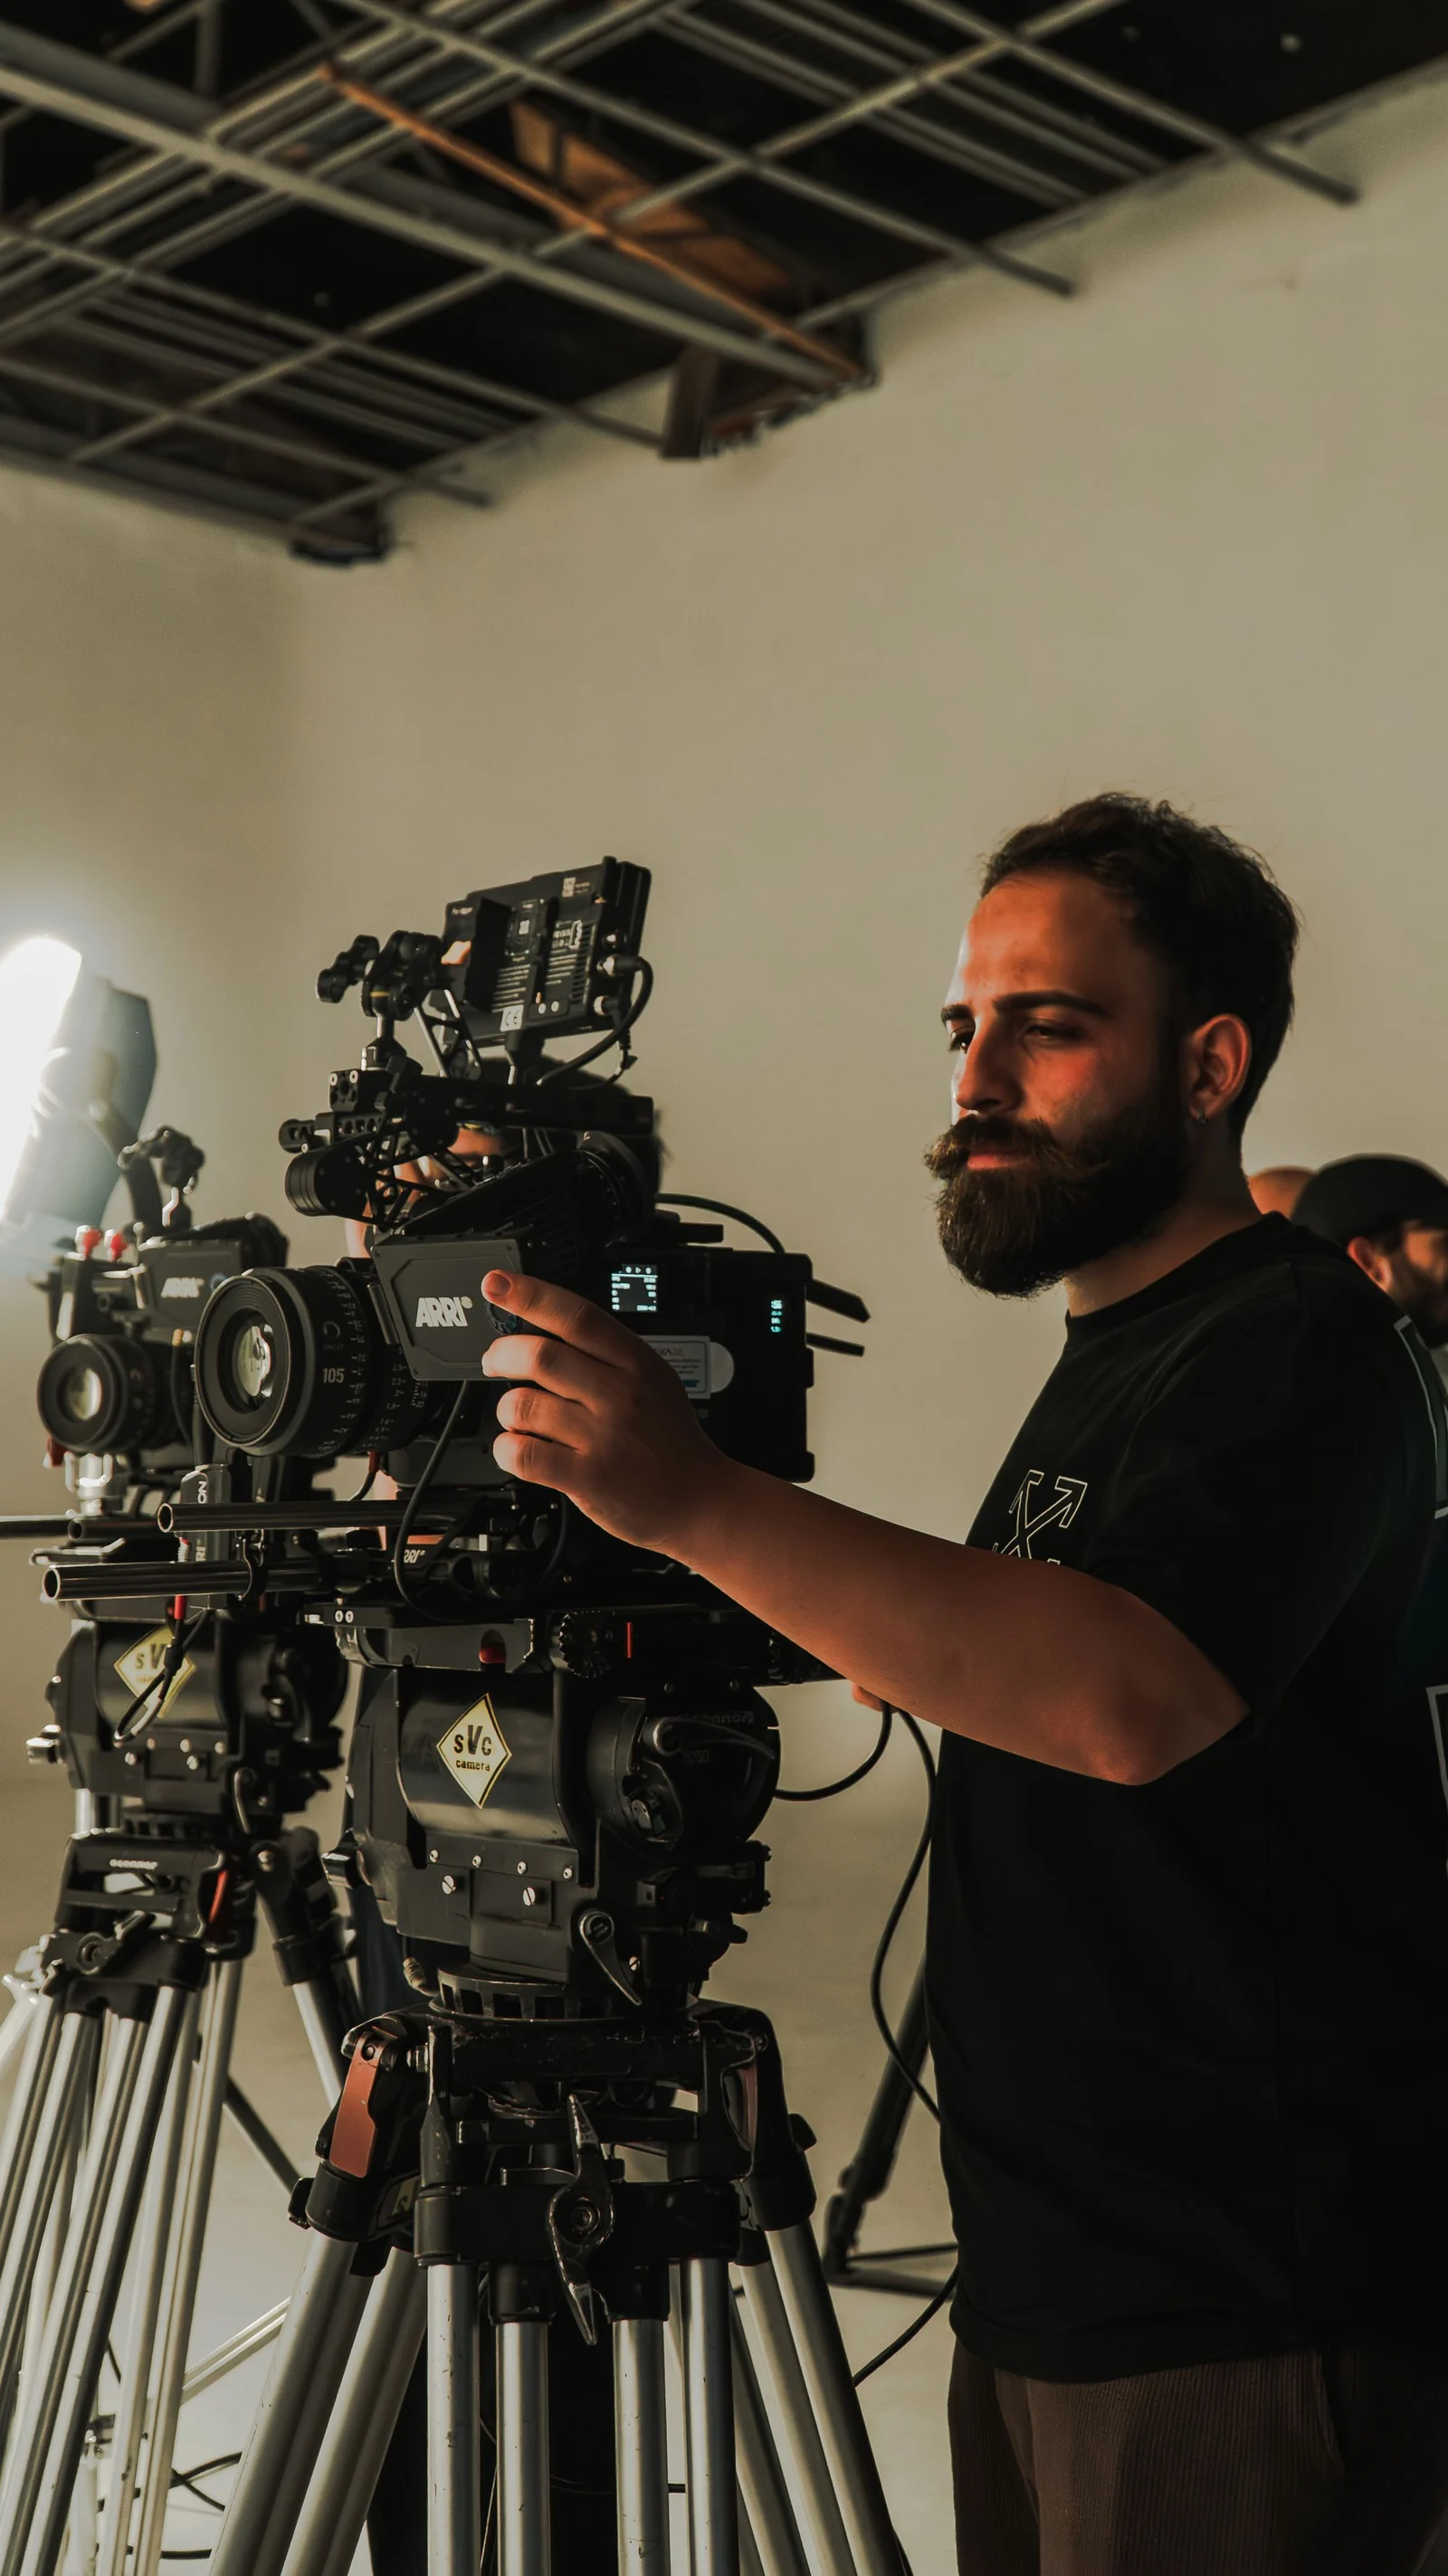 | ||
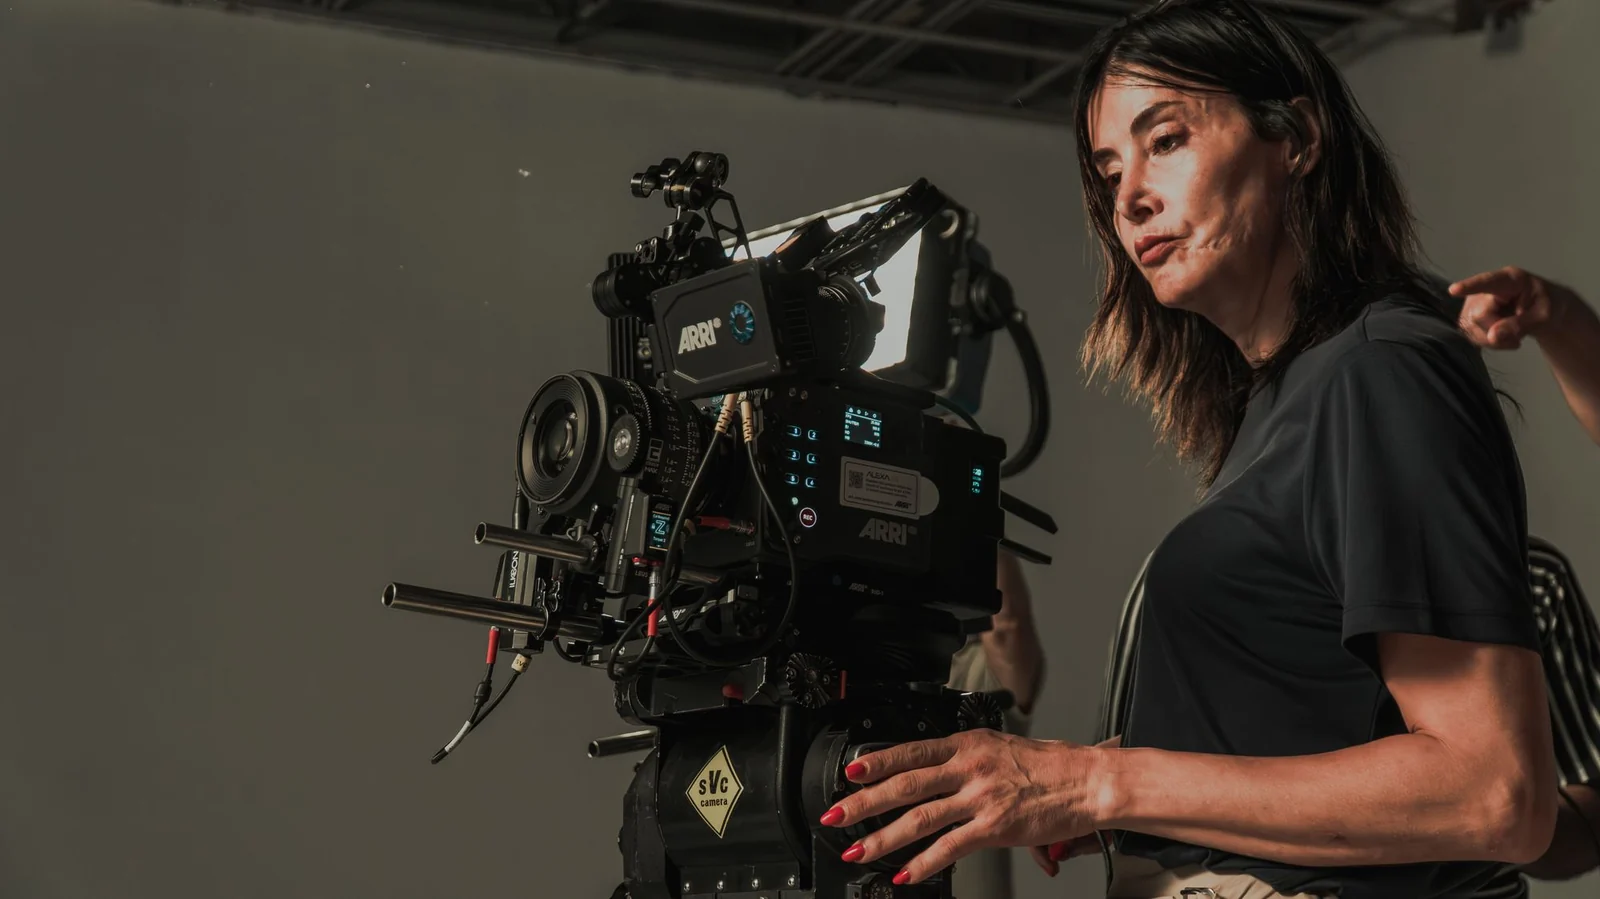
| Prompt: Use the first still for a close view of a cinematographer at the camera, and the second still for a wider studio setup with the same crew and lighting. Take the crane, crew blocking, and outdoor staging from the reference video. Keep a professional film-set feel as the crew prepares a shot in another location. | ||
Give each story beat room to develop
A Kling 4.0 generation can last from 3 to 30 seconds, which gives an action time to start, land, and finish. A brief product reveal may only need a short pause and a close-up. A walkthrough needs enough time for the camera to cross the space. Use keyframes—up to 10 in one generation—to mark the moments that must be clear: a turn, a handoff, a change of framing, or a hold at the end. Before you leave production, check each take against the shot list. Confirm that it contains the main action, the supporting detail, and a usable beginning and ending.
Post-Production: Shape the Footage Into a Finished Video
Post-production turns selected takes into a coherent sequence. This is where you test the rhythm, fix mismatches between neighboring shots, and prepare the version your audience will see. Individual clips become more useful once they connect clearly.
Refine a shot with a new take
If a background distracts, a product looks wrong, or a shot does not match the surrounding footage, generate a new take instead of forcing the first result into the cut. In the Kling 4 workspace, add the previous clip or a trusted still as a reference, then describe the change and the details that must stay the same: subject, lighting, camera move, and duration. Review the new version beside the shots that come before and after it, and check recurring people, products, and color so the revised take still belongs in the sequence.
| Reference video | Generated video |
|---|---|
| Prompt: Use the sunlit window portrait as the reference. Keep the quiet pose, natural daylight, and a woman looking outward, but reframe to a closer profile beside a cafe window with plants. Preserve the contemplative mood and the soft window light. | |
Select the takes and build the sequence
Return to the script and choose the take that best serves each moment. Watch for repeated information, missing connections, or a shot that ends before its action is clear. A quieter take often sits more comfortably next to its neighbors than a more dramatic one. Kling 4.0 generates one clip at a time, up to 30 seconds. Download the approved takes and assemble the longer sequence in your own editing tool, following the shot plan you wrote in pre-production.
Check on-screen words and prepare delivery
Review every word the audience must read, including titles, product names, and closing messages. If you add captions or labels in your editor, check spelling, contrast, and timing, and preview the file in the aspect ratio of each destination. For an explainer, a label that arrives when the object appears is easier to follow than one that shows up late. Export the version that matches the length, format, and channel you agreed on at the start.
How to Create a Video with Kling 4.0
Once the brief and references are ready, keep the hands-on workflow short. These three steps take you from prepared materials to a result you can review and develop further in the Kling 4 workspace.
Step 1: Choose Kling 4.0 and add your materials
Open the workspace, select Kling 4.0, and upload the character, product, scene, or movement references the shot needs. Use stills and clips that clearly show the details you want to preserve. If you have no reference files yet, start from a text prompt and add references later when you have them.
Step 2: Write a prompt that matches your references
Explain the role of each uploaded asset, then describe the subject, action, setting, camera move, lighting, and pacing. If several references are in the request, say what each one should guide. For a longer beat, mention the key moments that must appear, and keep the written description aligned with the shot list.
Step 3: Generate, review, and finish
Choose duration, aspect ratio, and resolution, check the credit quote, then generate. Compare the result with the shot plan. If something is off, change the reference or the instruction that caused it and generate again. When a take works, download it. Repeat for the remaining shots, then assemble the approved clips into the finished sequence.
Conclusion
A clear video production process connects decisions from the first brief to the final review. Pre-production sets the direction, production creates the footage, and post-production brings the pieces together. Kling 4.0 helps you carry that plan into moving images with references, shot direction, and room to generate another take when a shot is not yet right. Start with a message you care about, give each shot a purpose, and let the sequence take shape from clips you have actually approved.
FAQs
What are the three stages of video production?
The three core stages are pre-production, production, and post-production. Pre-production sets the goal, script, shot plan, and materials. Production creates the footage, either by filming or by generating planned shots. Post-production selects the takes, refines anything that does not fit, and prepares the file for delivery. Some teams list distribution as a fourth stage, but the three-stage model is still a useful way to plan the work.
What should be included in pre-production?
Include the video’s goal, audience, key message, intended length and format, script, shot list or storyboard, references, schedule, and who will approve each stage. A live shoot also needs people, equipment, and locations. For an AI-assisted production, prepare clear visual references and decide which details must stay consistent. The aim is to give production an agreed direction and usable materials.
How does Kling 4.0 fit into video production?
Kling 4.0 can turn a script and references into planned footage in the Kling 4 workspace. Use text-to-video when a shot starts as a description, image-to-video when you already have a still, and Omni Reference when you need to combine up to 15 images, videos, voice references, or subjects. You can generate 3–30 second clips, guide important beats with up to 10 keyframes, and review each take against the shot list. People still choose the message, approve the materials, and decide whether the finished sequence communicates what they intended.
Can I make a video longer than 30 seconds with Kling 4.0?
A single Kling 4.0 generation can last up to 30 seconds. To make a longer piece, generate multiple clips that follow the same shot plan, review them for consistency, then download the approved takes and assemble them in your own editor. This is different from extending one clip past the 30-second limit inside a single generation.
How do I keep a character consistent across the production process?
Reuse the same clear references for face, hair, clothing, and distinctive details, and state in the prompt what each reference should preserve. Omni Reference in Kling 4.0 helps guide identity when the scene or camera angle changes. Keep the written character description stable from shot to shot, and compare every new take with the neighboring clips before you add it to the sequence.
How is an AI-assisted production different from a live shoot?
A live shoot captures real people, places, and events in front of a camera. An AI-assisted production uses the same planning discipline, then generates some or all of the planned shots from text and references. You still write a brief and a shot list, prepare materials, and review the footage. Kling 4.0 does not replace a camera when you need a real recording, and it does not replace the editor where you assemble the final sequence.