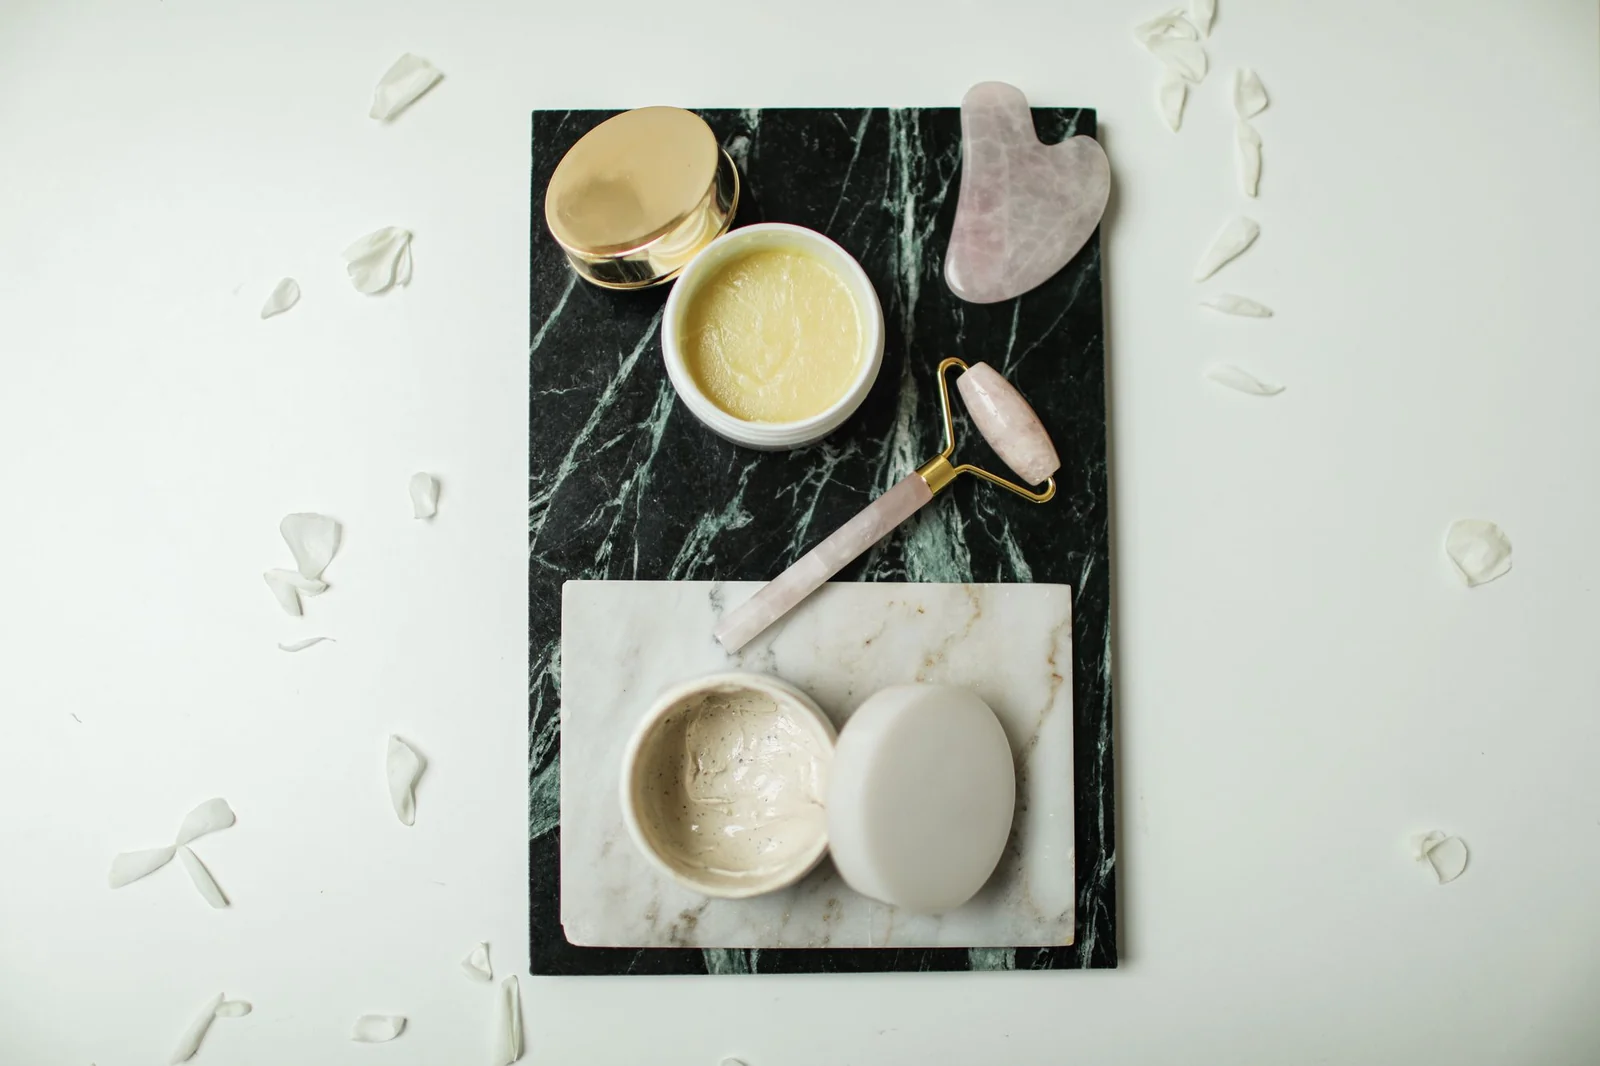
A product can look perfect on a shelf and still photograph poorly. The finish turns dull, a label catches the light, or the item looks smaller than it is. Good ecommerce photography should show shoppers, clearly, what will arrive. This guide covers the stills worth taking, a setup you can repeat across SKUs, and how Kling 4.0 can help you develop extra lifestyle and campaign videos from those approved product photos.
What Makes Good Ecommerce Photography?
Clear photos answer questions shoppers cannot ask in person. Check these essentials before you build a listing or plan a shoot:
- Accurate color and shape. Compare each photo with the real item under neutral light.
- Sharp, useful details. Give labels, seams, hardware, and controls enough focus for shoppers to inspect them.
- Controlled lighting. Diffuse harsh reflections and avoid shadows that hide important parts of the product.
- Consistent framing. Keep camera height, crop, and white balance steady across the catalog.
- Readable composition. Keep the item prominent, leave room for the required crop, and check the image rules for each selling channel.
Compare photos side by side. When a white backdrop looks yellow in the next shot, the catalog starts to feel uneven.
Which Ecommerce Product Photos Should You Include?
Start with images that show what the customer will receive. Then add context that helps them judge size, fit, and everyday use.
| Photo type | What the image should explain |
|---|---|
| Hero image | The full product and its overall appearance |
| Alternate angles | Shape, depth, and views from other sides |
| Detail close-up | Material, closure, controls, or label |
| Scale or on-model | Size, proportions, or fit |
| Lifestyle image | How the item looks in everyday use |
A buyer comparing jackets may need an on-model shot to judge shoulder fit, while someone shopping for a speaker will want to see its ports and controls. Choose extra images to answer specific questions about the item. On-model photography is especially useful for apparel and accessories.
How Kling 4 Makes Ecommerce Product Content More Efficient
Accurate product photos are essential for online stores, but seasonal promotions, social ads, and launches often need more visual variations. You should not replace listing photos with invented product stills. You can, however, use approved product photos as references in Kling 4.0 to create lifestyle clips, storefront videos, and campaign variations without booking a new shoot for every channel.
Kling 4.0 is the video model in the Kling 4 workspace. With Omni Reference, you can combine product photos, setting stills, and optional video or subject references in one generation—up to 15 reference items—to keep the item recognizable while you change the scene, camera move, or campaign mood. Explore the workflows below.
Explore on-model and lifestyle looks for campaigns
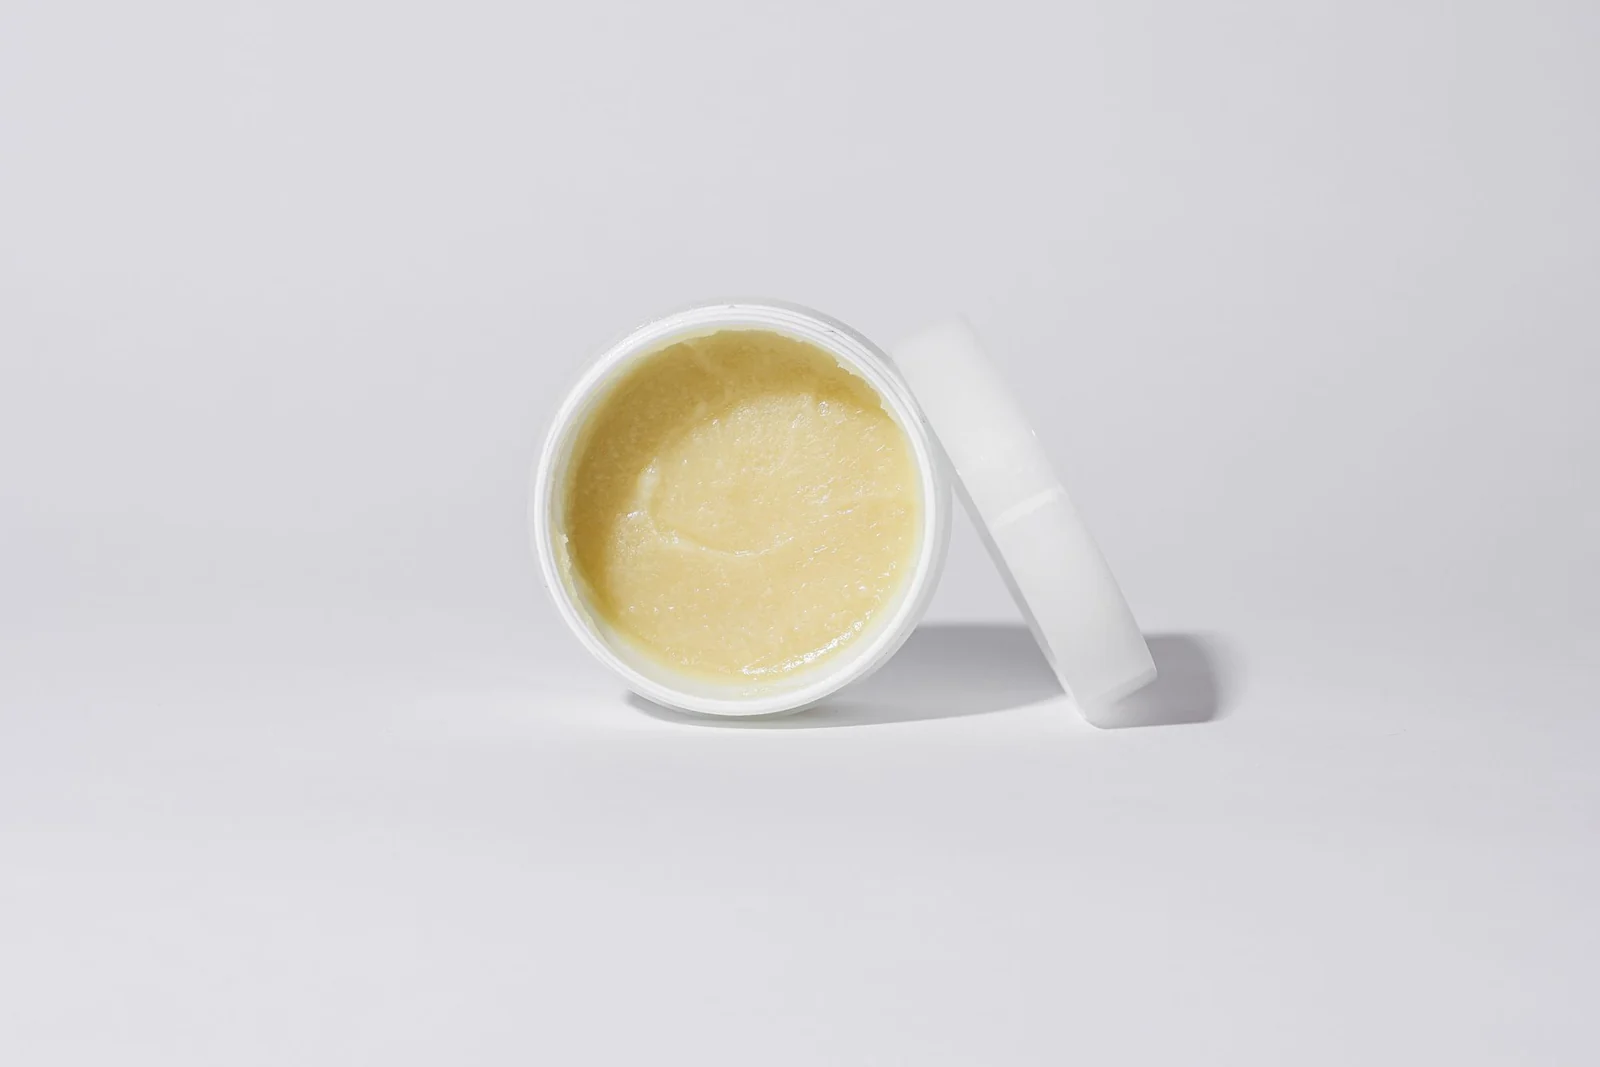
A beauty launch may need a short clip that takes a still product photo into a lifestyle close-up, or several related shots of bottles and jars in a consistent setting. In Kling 4.0, start from a clear product photo and, when you have them, add a model or location reference. Describe how the item should appear, what must stay true to the still, and how the camera should move. Always check color, packaging, and the label area against the physical product before you publish.
| Reference images | Output |
|---|---|
 | |
| Prompt: Start from the still of a cream jar styled with eucalyptus and a wooden brush. Generate a lifestyle close-up of a pale, unbranded beauty bottle in use, keeping a minimal label and soft, even light. | |
Create consistent clips across marketing channels
A product launch might need a homepage loop, a short promotional clip, and several social cuts of the same item. Generate related shots from the same product references and a shared visual brief—color palette, lighting, and camera language—so the item stays recognizable from a close-up to a styled display. Then adapt duration and aspect ratio to each channel.
Adapt a listing photo for different campaign needs
A clean listing photo may be right for the store page but feel too plain for a seasonal promotion. In the Kling 4 workspace, use that still as a reference, then describe a new setting, lighting, or camera move while stating what must not change: silhouette, label, color, and packaging. Review logos, typography, and materials against the original photo before you export a clip for ads or social posts.
How to Create Ecommerce Product Videos with Kling 4.0
Start with a clear product reference photo. In the Kling 4 workspace you can turn that still into a lifestyle scene or a campaign clip with Kling 4.0. A bottle shot, for example, can become a vanity-table sequence or a seasonal ad concept, with the original photo guiding the product’s appearance.
Step 1: Upload your product reference photos
Open the workspace, choose Kling 4.0, and upload a sharp photograph of the product. Add more stills for the background, styling, or props if you have them. Pick photos that clearly show the product’s most recognizable features.
Step 2: Describe the scene and the details to preserve
Start with the product, setting, and mood, then add lighting, composition, and camera angle. Name the features that must stay accurate, such as a bottle silhouette, cap shape, or packaging colors. If you add setting or style references, say what each one should guide. For a set of related clips, describe a shared palette or theme so the shots feel connected.
Step 3: Generate the clips and review the results
Choose duration, aspect ratio, and resolution, check the credit quote, then generate. Review each take for product consistency, realistic lighting, and useful variety. Pay close attention to logos, packaging text, colors, and material details. Compare finished clips with the original product photos whenever the visuals represent items customers can purchase. Download the approved clips, then trim or export them for your storefront or campaign.
| Reference image | Shot 1 | Shot 2 | Shot 3 | Shot 4 |
|---|---|---|---|---|
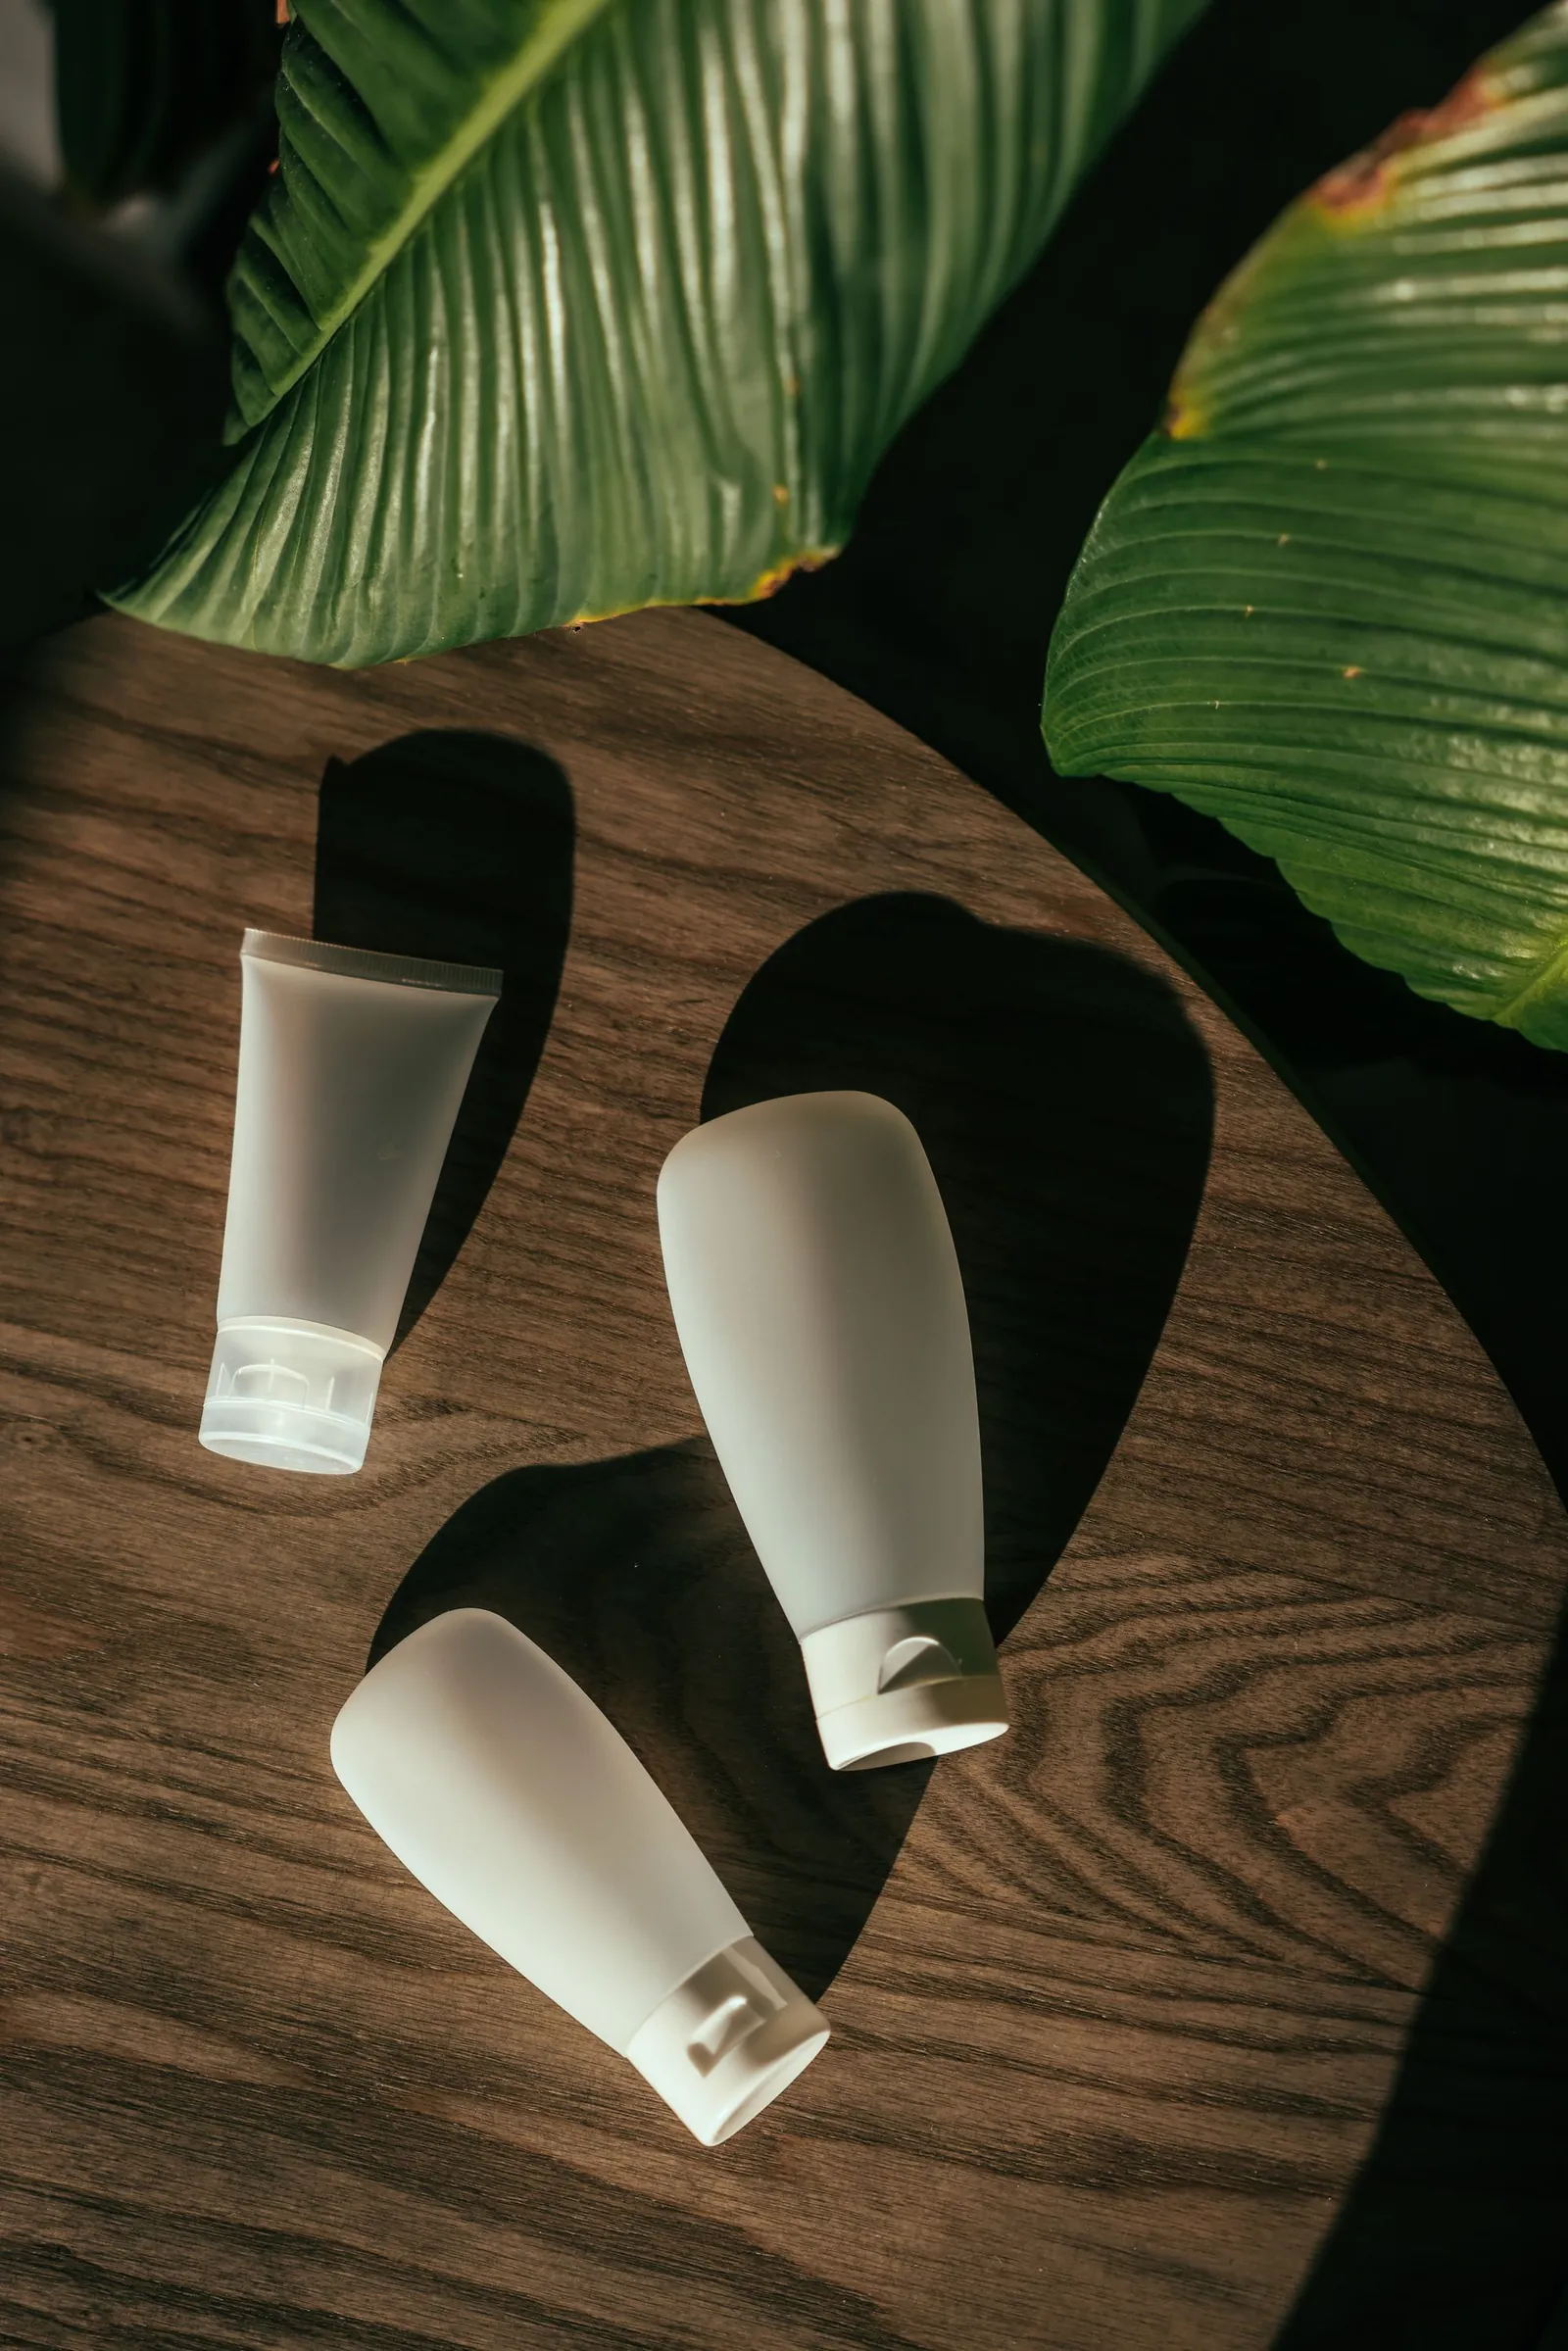 |  |  |  |  |
| Prompt: Same unbranded white skincare bottles on a wooden table among tropical leaves. Keep the pale bottles, wood grain, and foliage consistent from a two-bottle overview to a single hero, a lying tube, a sidelit bottle, and a standing tube. | ||||
Ecommerce Photoshoot Essentials
The video workflow above works best from a clear, accurate product photo. For a new collection, a consistent photoshoot gives you listing images and references you can reuse for lifestyle scenes, on-model concepts, and seasonal clips. A repeatable setup is easier to manage across SKUs and color variants.
Plan product shots and prepare the setup
Write down the angles and details customers need for each SKU. A coat needs fabric and fit photos; a speaker needs clear views of its connections. This category checklist can help you plan the shoot:
| Product category | Priority views |
|---|---|
| Apparel | Front, back, fabric close-ups, true-to-size on-model view |
| Electronics | Front, rear, ports, controls, included accessories |
| Beauty | Package, label, cap, texture where relevant |
| Jewelry | Front, side, fastening, macro detail, worn scale |
| Furniture | Front, side, 45-degree view, room scale |
| Accessories | Main view, interior, closure, detail, in-use view |
Remove dust and fingerprints, straighten labels, and smooth clothing before the first shot. A paper sweep or a clean tabletop can work for smaller items. Keep the background simple and separate each product variant so you do not mix colors or sizes later.
Set up lighting and capture key details
Set a smartphone or camera on a tripod and start with soft window light or a diffused source. Place a white card opposite the light to open heavy shadows. For glass or jewelry, move the light or the product until reflections describe its shape and the label stays readable. Recheck white balance when the lighting changes. Take the main view first, then the side, back, 45-degree, and close-up images on your shot list. Keep the camera level when proportions matter.
Review and prepare your product photos
Before you dismantle the setup, zoom in on the files. If stitching or product lettering looks soft, reshoot it now. A later edit cannot rebuild a detail the camera never recorded. Correct exposure and white balance, remove temporary dust, and crop every image to the dimensions your storefront accepts. Use file names tied to the correct product variant. An enhancement pass can tidy a supporting image, but it cannot confirm the accuracy of labels or materials. Check the files on a phone and at full zoom before you upload them, and before you use them as references in Kling 4.0.
Common Ecommerce Photography Mistakes
Even a well-planned shoot can leave small issues in the finished files. Before publishing, check for mismatched color variants, distracting reflections, awkward crops, and changes to product details in generated campaign clips.
| Common problem | Practical fix |
|---|---|
| A wrong color variant | Match files to the correct SKU and compare them with the item |
| White backdrops that turn gray | Use consistent white balance and light across the batch |
| Glare over labels | Move the light or rotate the product, then shoot again |
| No visual scale | Add a size reference or a clearly labeled dimension photo |
| Overly tight crops | Check mobile and desktop crops before exporting |
| Altered logos or hardware in a generated clip | Compare the clip with the original product photos |
Conclusion
Good ecommerce photography helps shoppers recognize the real product and inspect the details that matter. Start with accurate listing photos, repeatable lighting, and useful angles for each category. When you need fresh campaign concepts, Kling 4.0 can develop coordinated videos from those approved stills. Check the finished visuals against the physical item and the rules of your selling channel before you publish.
FAQs
What is ecommerce photography?
Ecommerce photography is the set of images a business uses to show products in online stores and marketplaces. It includes the main product photograph, alternate angles, close-ups, size references, and sometimes lifestyle or on-model images. Accurate photos help shoppers see what they will receive.
Can you take ecommerce product photos with a smartphone?
Yes. A modern smartphone can handle many small and medium-size products when you use soft light, a stable position, and a clean backdrop. Wipe the lens, check focus and exposure, and compare the photo color with the physical item. A tripod helps keep framing consistent across many SKUs.
What image size works best for ecommerce listings?
The best image size depends on your selling channel. Use enough resolution for customers to inspect product details, and follow the platform’s file-format and dimension requirements. Preview the final crop on mobile and desktop before uploading.
Can I use Kling 4.0 to make product videos from listing photos?
Yes. Upload a clear product photo as a reference, choose Kling 4.0, and describe the scene, lighting, and camera move you want, including the details that must stay accurate. Omni Reference can also combine several stills to guide the item, setting, or styling. Compare every clip with the original product before you use it in a campaign.
Can AI-generated visuals appear in product listings?
Only if your selling channel allows them and the visuals accurately represent the product. Use approved product photos for the listing itself. Treat Kling 4.0 clips as campaign, lifestyle, or storefront motion, and review product details, logos, and colors before publishing.
How many product photos should an ecommerce listing have?
There is no universal number. Start with one clear main image, then add views that answer different buying questions. Clothing often benefits from model and fabric views, while electronics need controls and port details. Give every image a purpose and follow the maximum number and size rules of your storefront.