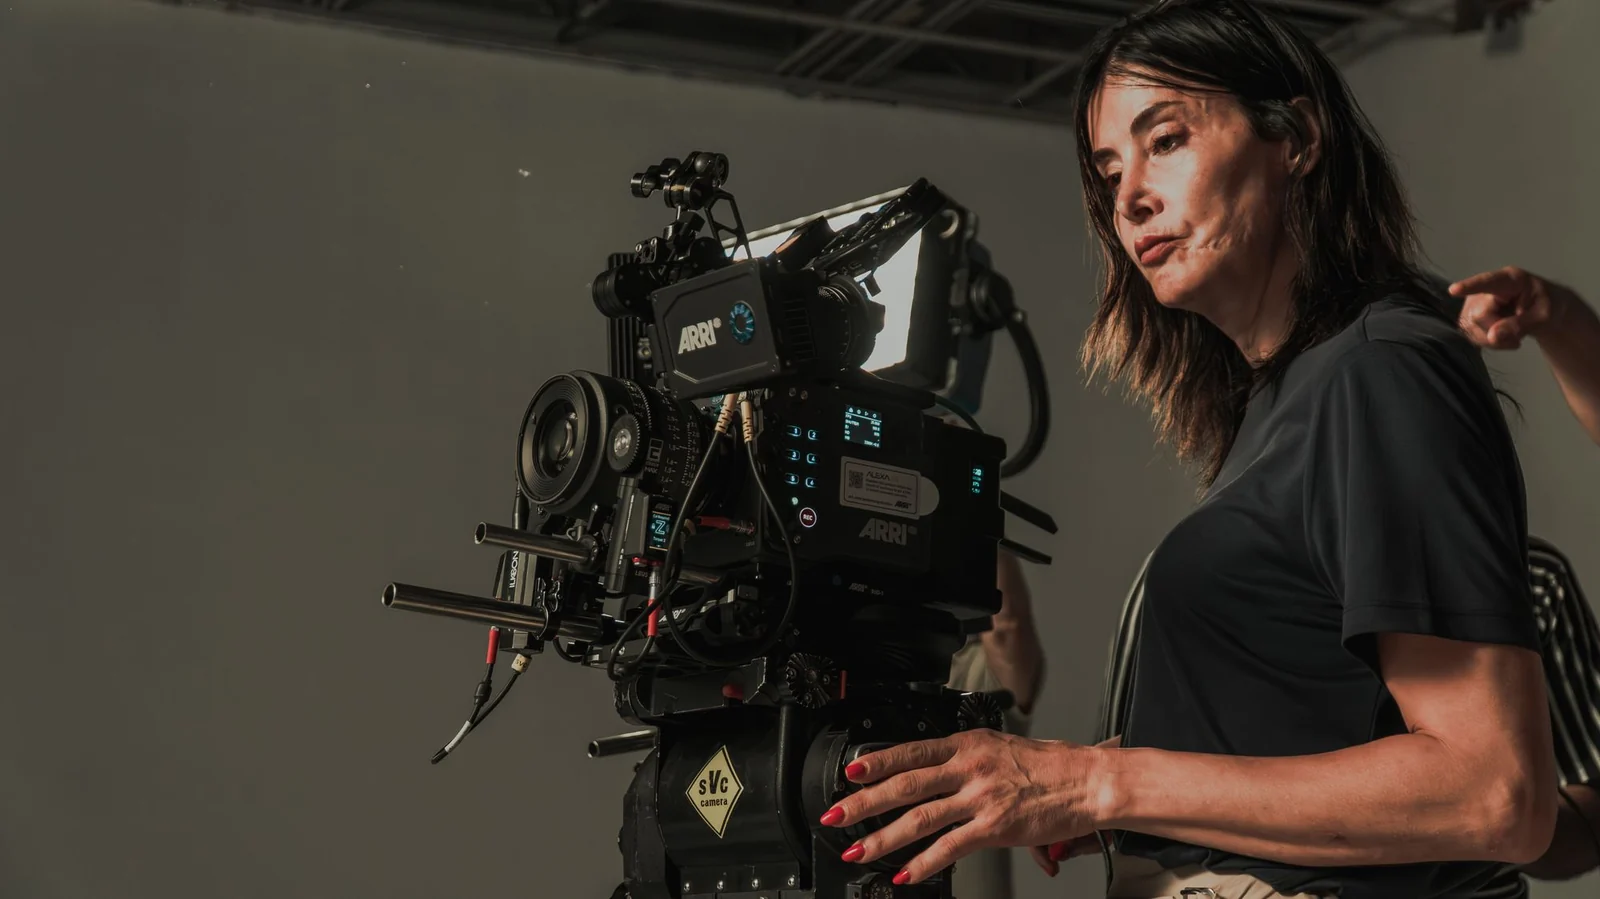
AI filmmaking uses AI video tools to develop a story, plan shots, generate scenes, and build a finished film. You still make the director’s choices: what the audience should see, how a scene should feel, and how one shot leads into the next. This guide explains the production workflow, what to look for in an AI video tool, and how Kling 4.0 in the Kling 4 workspace can carry a project from the first scene brief to a set of clips you can assemble.
What Is AI Filmmaking?
AI filmmaking is the use of artificial intelligence to help write or refine a story, prepare visual references, generate video scenes, and review those scenes as a sequence. The filmmaker stays in charge of story, framing, performance, and pacing. The AI tool produces candidate shots that you select, revise, and combine.
The AI Filmmaking Workflow: From Idea to Final Film
An AI film still follows production logic. Generate one scene at a time, then connect the shots:
- Develop the story. Decide the premise, audience, conflict, tone, and ending. A short outline or script gives every later shot a purpose.
- Plan the scenes. Break the story into scenes and shots. Note framing, action, camera movement, lighting, and what each shot must communicate.
- Build visual references. Collect stills or clips for characters, costumes, locations, props, and style. Clear references make returning subjects easier to recognize.
- Generate and review footage. Create clips from text, images, or video references. Watch each take against the shot plan, then change only what needs work.
- Assemble the film. Download the strongest clips from your creations, arrange them in story order, and finish pacing, sound, and color in your editing tools.
How to Choose the Right AI Video Tool for Filmmaking
Treat every generated clip as a shot with a job to do. The most useful tool is the one that matches the control your project needs, not the one with the longest feature list. Look for a tool that can:
- Work with visual references. Image, video, subject, and voice references help keep people, products, and places recognizable from shot to shot.
- Handle motion and camera direction. Check how well it holds together during continuous action, fast movement, tracking shots, and more complex camera moves.
- Support narrative control. Longer clip lengths, keyframes, and room for detailed prompts make it easier to shape a beat instead of a brief moment.
- Fit your production workflow. Consider duration, resolution, aspect ratio, audio, and how easily you can review, download, and continue from a previous take.
- Give you a clear credit quote. Filmmaking involves many takes. You should see the estimated credit cost before you generate.
Why Consider Kling 4.0 for AI Filmmaking
Kling 4.0 brings video generation into one workspace where you can write a scene, add references, set duration and resolution, and review the result in the same conversation. It combines Omni Reference, more stable motion and camera movement, native 3–30-second generation, up to 10 keyframes, prompts of up to 8,000 tokens, synchronized audio, and output up to 4K. That mix is useful when a film needs the same character or setting to return across several shots, and when an action or camera move needs more than a few seconds to land.
What Kling 4.0 Brings to AI Filmmaking
These capabilities matter most when you are building a sequence rather than a single standalone clip.
Guide characters, settings, and motion with Omni Reference
Omni Reference lets you combine up to 15 reference items in one generation, including images, videos, voice references, and subjects. Use stills to lock a face, costume, prop, or location. Use video to suggest performance, action, or camera language. In the prompt, say what each reference should guide, then describe how the scene should unfold. That pairing helps a returning character or place stay recognizable as the camera angle changes.
Create more stable large-scale motion and camera moves
Kling 4.0 is built to hold together during high-speed action, continuous movement, tracking shots, and orbiting camera moves. For filmmakers, that means you can ask for a walk that continues across the frame, a push-in that arrives on a face, or a move that follows a subject without the shot immediately falling apart.
Shape narrative beats with longer generation and keyframe control
Clips can run from 3 to 30 seconds, so an action, an emotion, or a camera move has time to complete. Up to 10 keyframes let you mark important states in the scene, and prompts of up to 8,000 tokens give you room to describe shot order, blocking, and what must stay consistent. This is how a short scene can feel like a scene, not a fragment.
Review, refine, and keep working from the same scene
Filmmaking is mostly revision. After a take, check character consistency, action continuity, composition, and key props. Tighten the prompt, adjust duration or aspect ratio, or change a reference, then generate again. Finished clips stay in the conversation and in My Assets under My Creations, so you can compare takes and download the ones that belong in the cut.
Plan for a cinematic look with flexible framing and high-quality output
Choose an aspect ratio that fits the shot, then select 720p, 1080p, or 4K. Kling 4.0 also lists 10-bit HDR for 1080p and 4K output, which helps highlights and shadows transition more smoothly. Synchronized audio and improved lip sync support scenes that need dialogue or a clearer sense of presence.
How to Make an AI Film with Kling 4.0
Once the story and shot list are ready, work scene by scene in the Kling 4 workspace. These steps keep the process organized:
Step 1: Define the scene you want to create
Start with one scene, not the entire film. Decide what the audience should understand, what the character does, how the shot changes, and how it should end. Note framing, camera movement, lighting, and mood.
Step 2: Select Kling 4.0 and add the right references
Open the workspace, choose Kling 4.0, and add the character, setting, and movement references for that scene. Pick materials that clearly show the details you want to carry into the footage.
Step 3: Write a prompt like a director
Describe the scene in a clear order: subject and setting, action, emotional beat, shot size, camera movement, lighting, and how the shot should finish. If you add references, say what each one should guide. For a scene with more than one beat, explain the order and what must remain consistent. Specific visual direction is more useful than a general request to “make it cinematic.”
Step 4: Generate, review, and refine the footage
Set the duration and aspect ratio, check the credit quote, then generate the clip. Review character consistency, action continuity, camera movement, composition, and important props. Change one problem at a time instead of rewriting the entire brief.
Step 5: Assemble the film from your clips
When the takes are ready, download them from the conversation or from My Assets. Arrange the clips in story order in your editor, trim the excess, and adjust pacing. Finish dialogue, ambience, music, and color with the tools you already use for post-production.
Practical Tips for Better AI Filmmaking Results
AI tools can speed up production, but consistent footage still comes from clear decisions. These habits make reviews and revisions easier:
Start with a scene you can clearly describe
Keep the first test small: one location, a short cast, and a visible action or change. A complete short sequence is easier to judge than a complicated story with many characters. Once the visual direction works, add the next shot.
Give every reference a specific job
Do not upload a set of references without saying how they should be used. State which image defines the character, which one establishes the location, and which video guides movement or camera language. Avoid references that contradict each other, and reuse the most important ones when a character or place returns.
Describe actions and camera movement separately
A useful prompt explains what the subject does and how the camera responds. For example, a character walks to a doorway, pauses, and turns; the camera tracks beside them, then pushes in for a close-up. That is clearer than relying on style words alone.
Review continuity across the whole sequence
A clip can look strong on its own and still break the scene around it. Check appearance, costume, props, screen direction, lighting, spatial layout, and the timing of actions. Watch the clips in order and revise the shots that interrupt the story.
Treat sound and finishing as part of production
Plan dialogue, ambience, sound effects, and music while you generate the picture, even if the final mix happens in other software. The same applies to color grading and mastering. AI video generation is one stage of filmmaking, not a replacement for every later step.
Conclusion
AI filmmaking starts with an idea and a shot plan. With Kling 4.0, you can combine images, videos, subjects, and voice references to guide appearance, performance, camera movement, and pacing, then describe the scene you want. Generate the clips, compare the takes, and assemble the film from the shots that serve the story.
FAQs
What is AI filmmaking?
AI filmmaking is the process of using AI video tools to generate film scenes while you direct the story, shots, and final cut. You plan the characters and camera, generate candidate clips, and assemble the ones that hold together as a sequence.
Can AI make an entire film?
AI can generate the footage for an entire film, but you still direct the story and assemble the final sequence. Plan the characters and shots, generate each scene, and review continuity across the cut. Kling 4.0 creates clips from 3 to 30 seconds, which you can download and arrange into a longer film.
What do I need to start AI filmmaking?
You need a story idea, a short outline, and a clear visual direction. A shot list and reference images help, but they are not required for a first test. You also need an AI video workspace and a way to review, download, and edit the clips.
What should I look for in an AI filmmaking tool?
Look for the controls your project actually needs: reference support, character consistency, motion and camera control, usable clip length, output quality, aspect ratios, and a straightforward way to review and download shots. The best tool is the one that fits your workflow.
How do I keep the same character across shots?
Reuse clear references that show the same face, hairstyle, outfit, and defining details, and say what each reference should preserve. Kling 4.0’s Omni Reference can guide identity across new scenes and camera angles. Keep the written character description consistent, then compare each take with the shots around it.
How long can a Kling 4.0 film clip be?
Kling 4.0 generates videos from 3 to 30 seconds. Use shorter clips for inserts and reactions, and longer clips when an action or camera move needs time to complete. A longer film is built by combining multiple clips.
Should I use Kling 4.0 or Kling 4.0 Flash for filmmaking?
Use Kling 4.0 when you need longer scenes, higher output quality, keyframes, and more reference control. Use Kling 4.0 Flash when you want faster, more economical takes for tests, coverage, or shorter 3–20 second, 720p clips. Many projects use Flash to explore a shot, then Kling 4.0 for the takes that go into the cut.
Can I try Kling 4 filmmaking for free?
Yes. Eligible new accounts receive 30 credits after email or Google verification, once per person. Start with a short, clearly described scene so you can see how references and direction affect the result before you spend credits on a longer take.